Chalk Paint vs. Acrylic Paint: Why Your Next DIY Project Demands Chalk

Chalk Paint vs. Acrylic Paint: Why Your Next DIY Project Demands Chalk

Tired of endless sanding, toxic fumes, and complicated priming just to update a piece of furniture? It’s time to move past traditional acrylics and embrace the magic that has revolutionized the DIY world: Chalk Paint. While acrylic paint certainly has its place for walls and siding, when it comes to furniture makeovers, nothing can match the unparalleled versatility and signature finish of high-quality chalk paint.

Here’s why chalk paint is the superior choice, and why a brand like Chalk Mountain Paint should be in your toolkit:


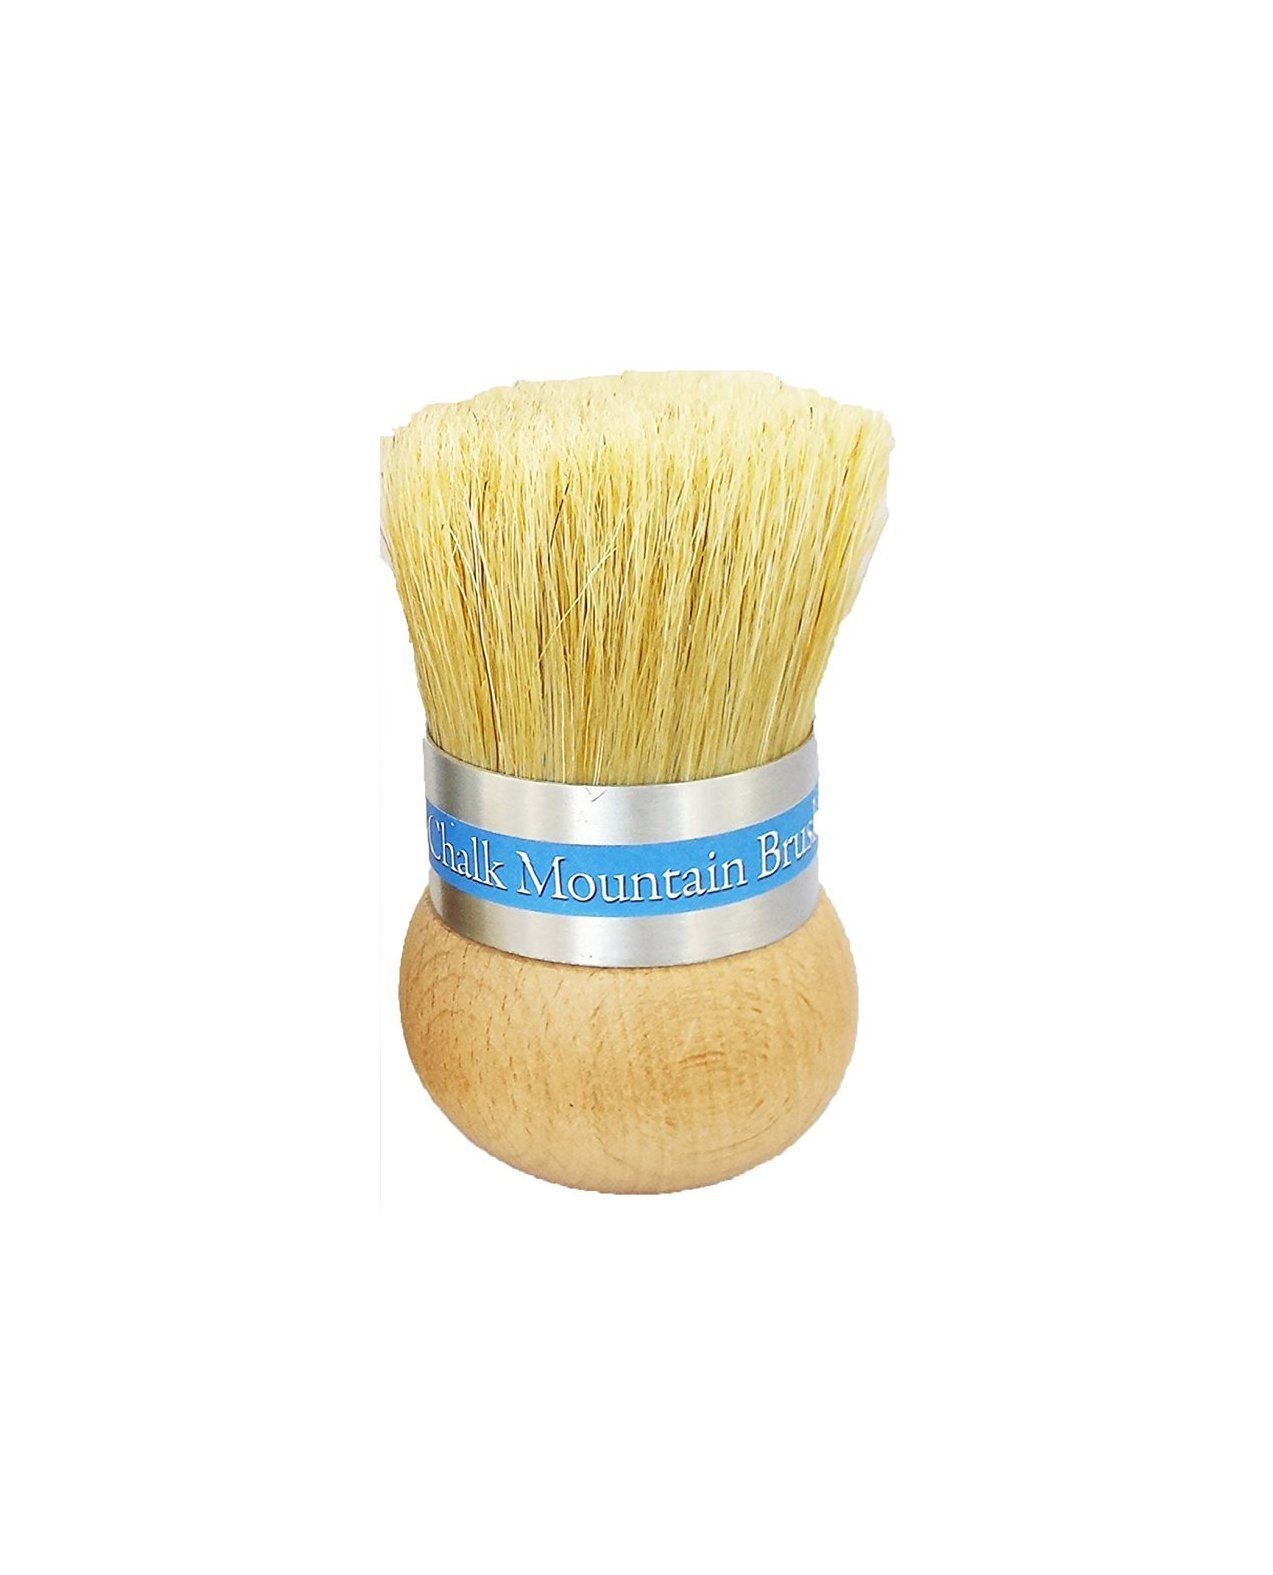
1. The Power of "No Prep" Adhesion

The single greatest benefit of chalk paint—and the reason it converts so many DIYers—is its legendary adhesion. Unlike standard acrylics, which require you to strip and sand a piece down to the bare wood, chalk paint, especially from reputable brands like Chalk Mountain, is designed to stick to almost anything. Whether you are tackling a glossy laminate dresser, a slick metal frame, or an old piece covered in varnish, chalk paint skips the need for noxious primers and hours of messy sanding. This dramatically reduces your project time and makes furniture flipping far more enjoyable.


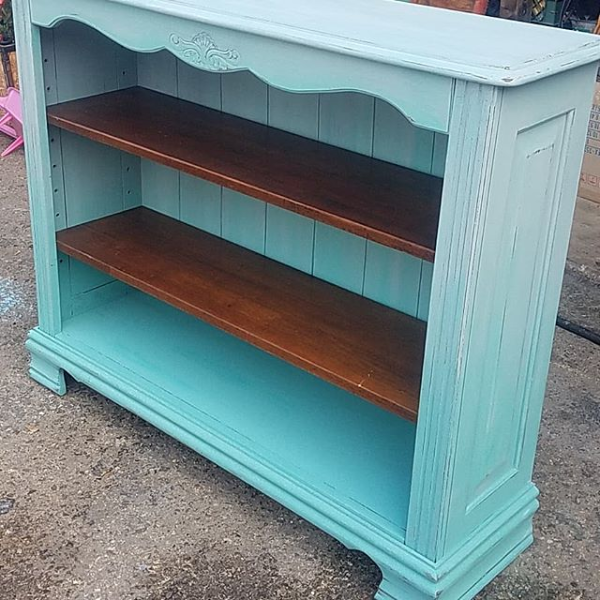
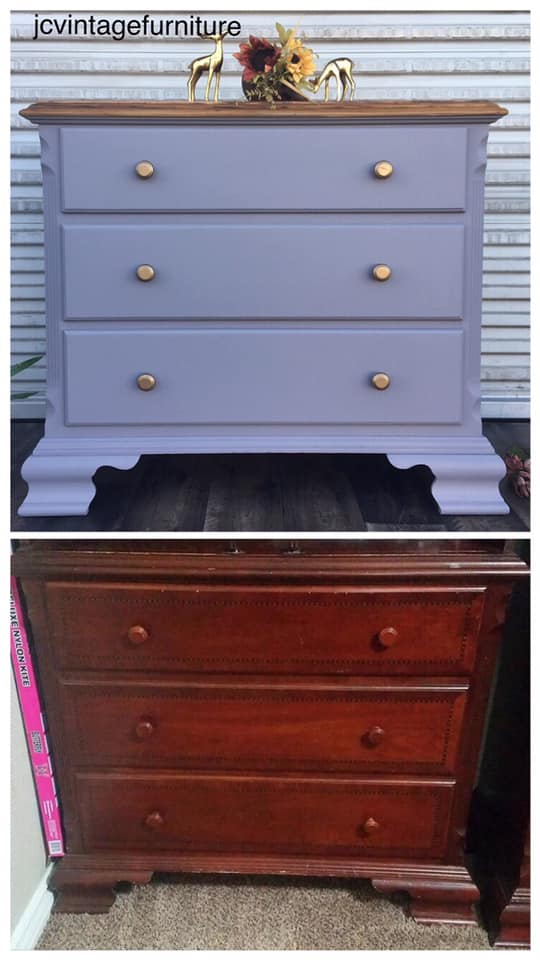
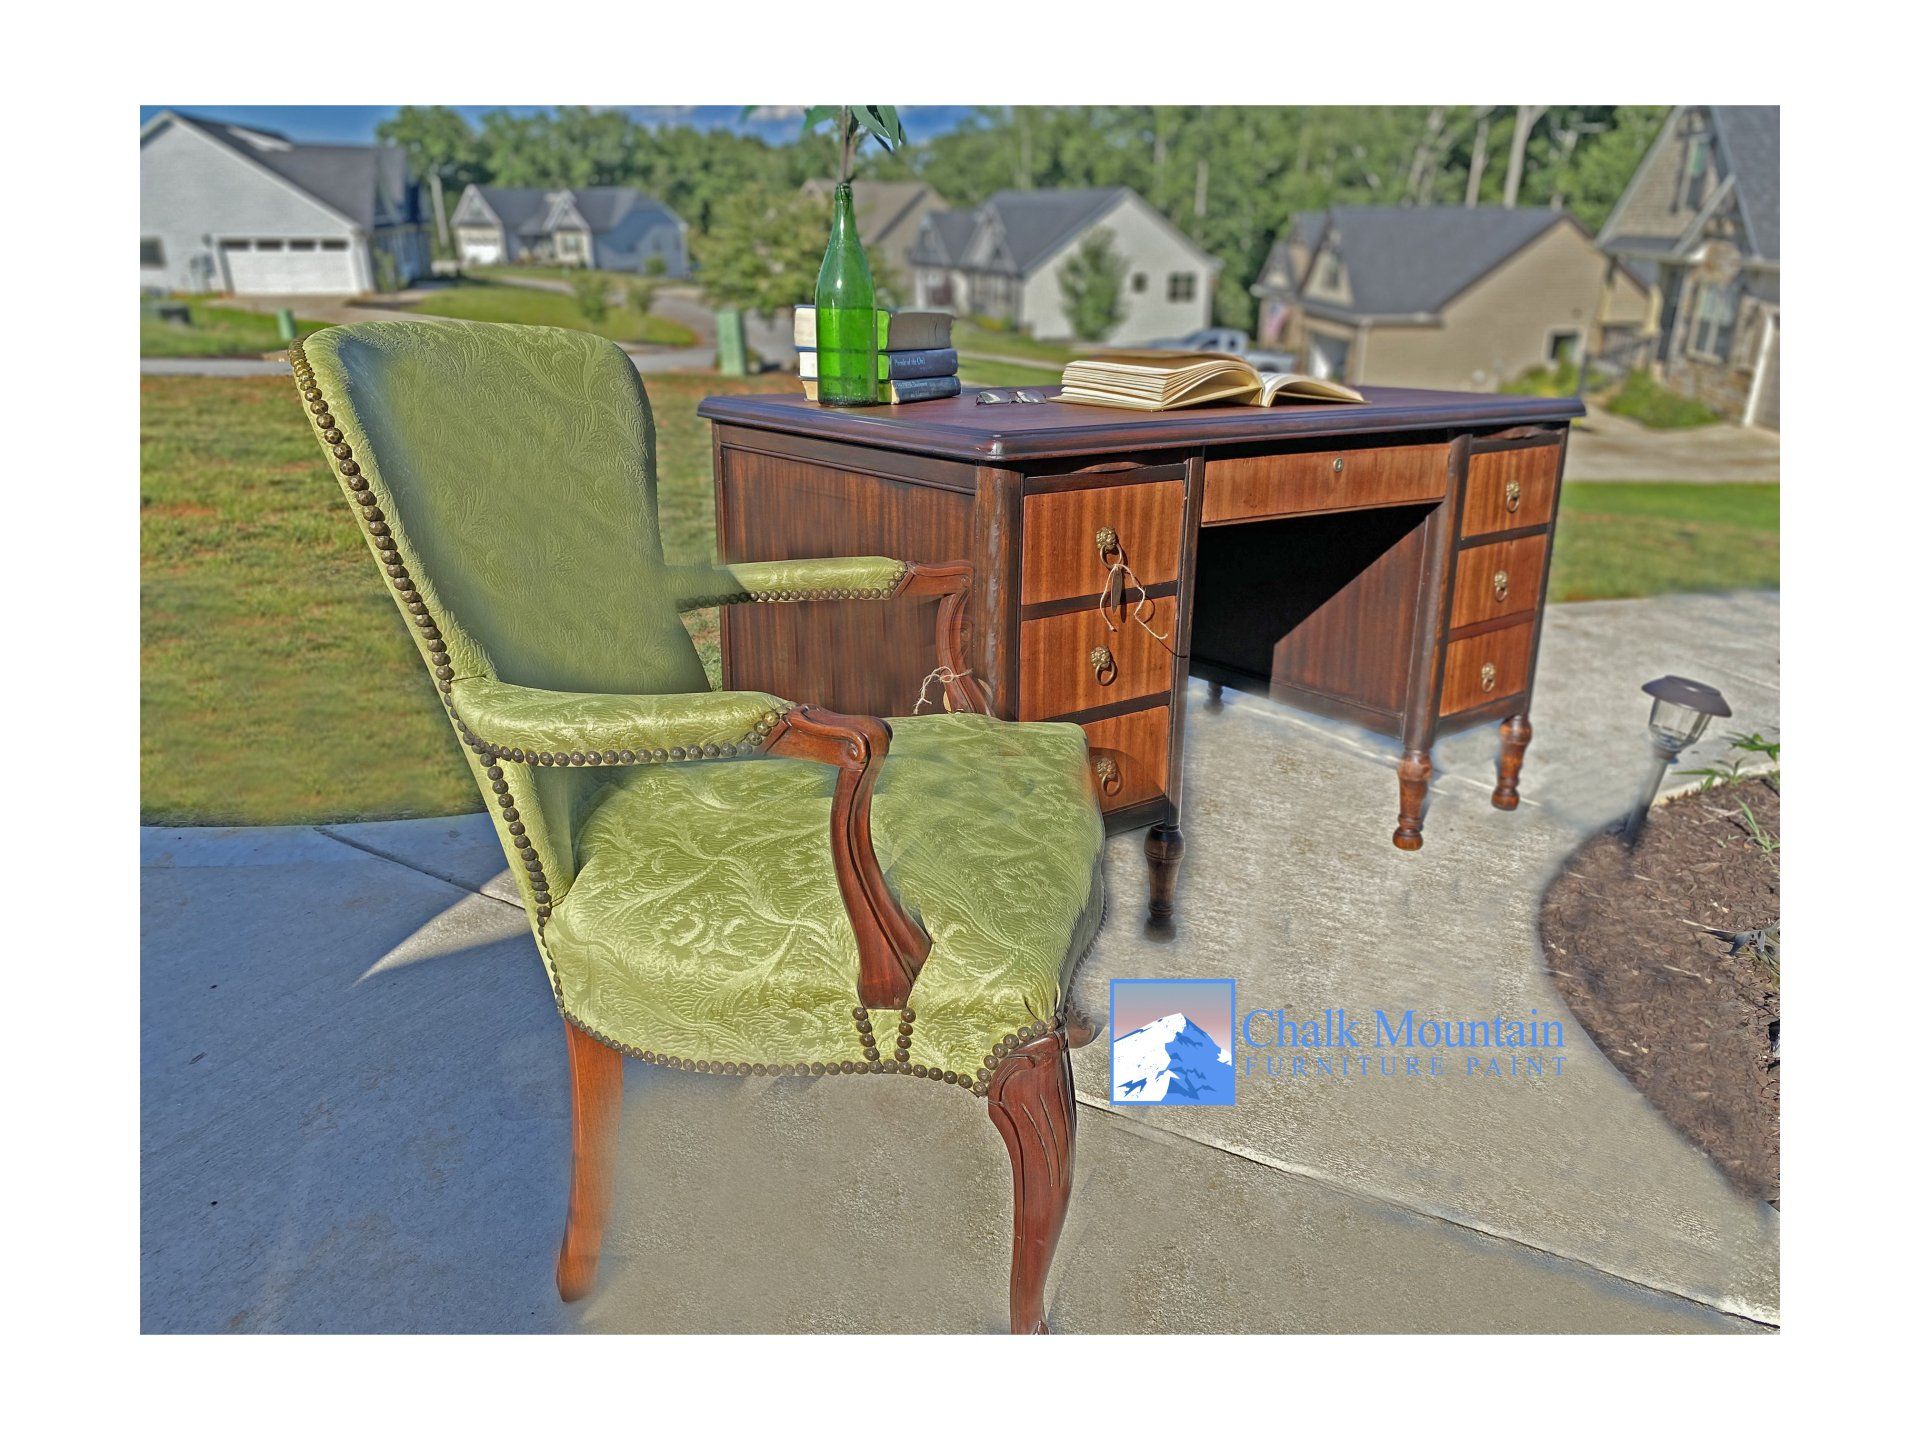
2. The Signature Finish is Instant Charm

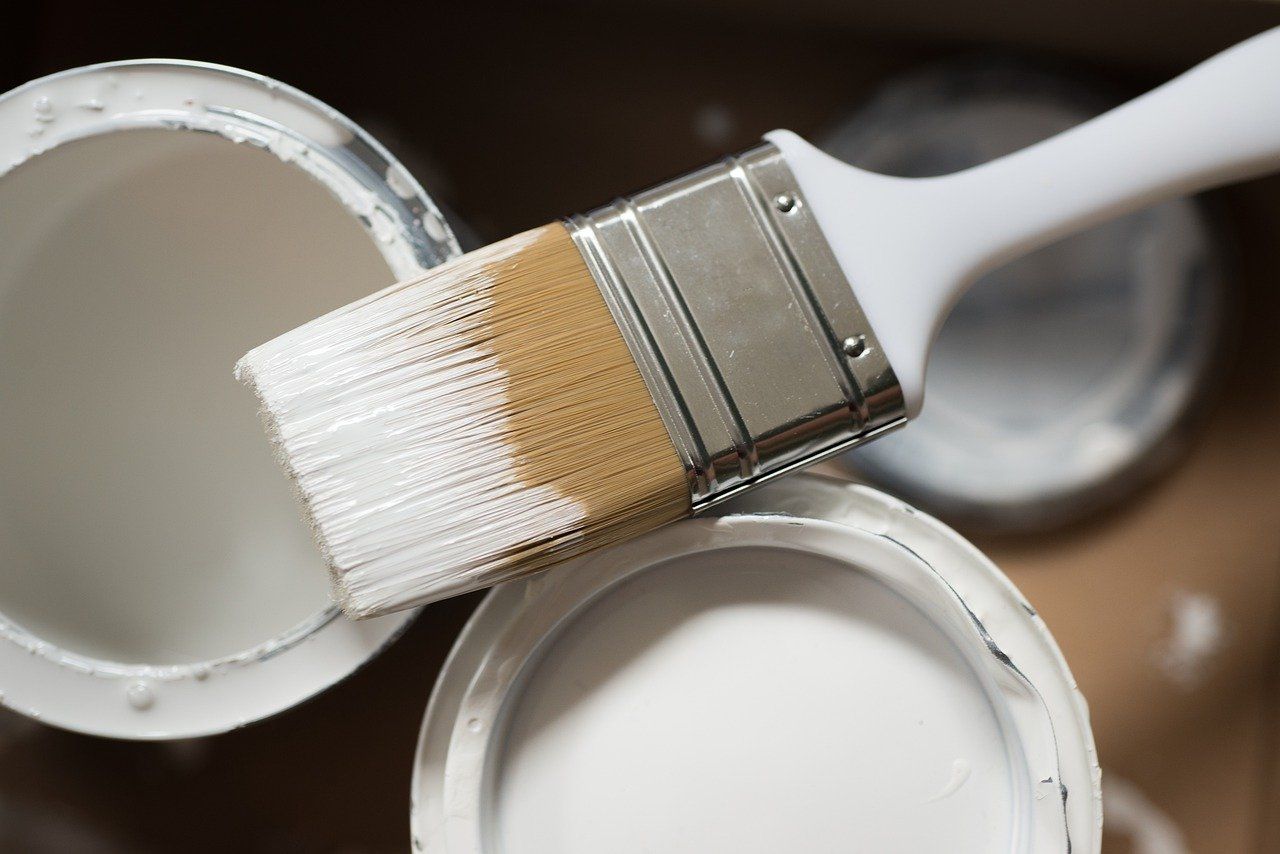
You simply cannot achieve the same look with standard acrylics. Chalk paint dries to a breathtakingly velvety, ultra-matte, and highly pigmented finish that instantly gives an object depth and character. The Vintage Vibe: Chalk paint is specifically formulated to be easily distressed. A little light sanding on the edges allows the color beneath to peek through, effortlessly achieving that sought-after aged, farmhouse, or antique aesthetic—a look that is nearly impossible to fake convincingly with acrylic. Zero Brush Marks: Thanks to its thicker, concentrated formula, chalk paint offers exceptional coverage and minimizes the appearance of brush strokes, resulting in a beautiful, soft, professional-looking application.


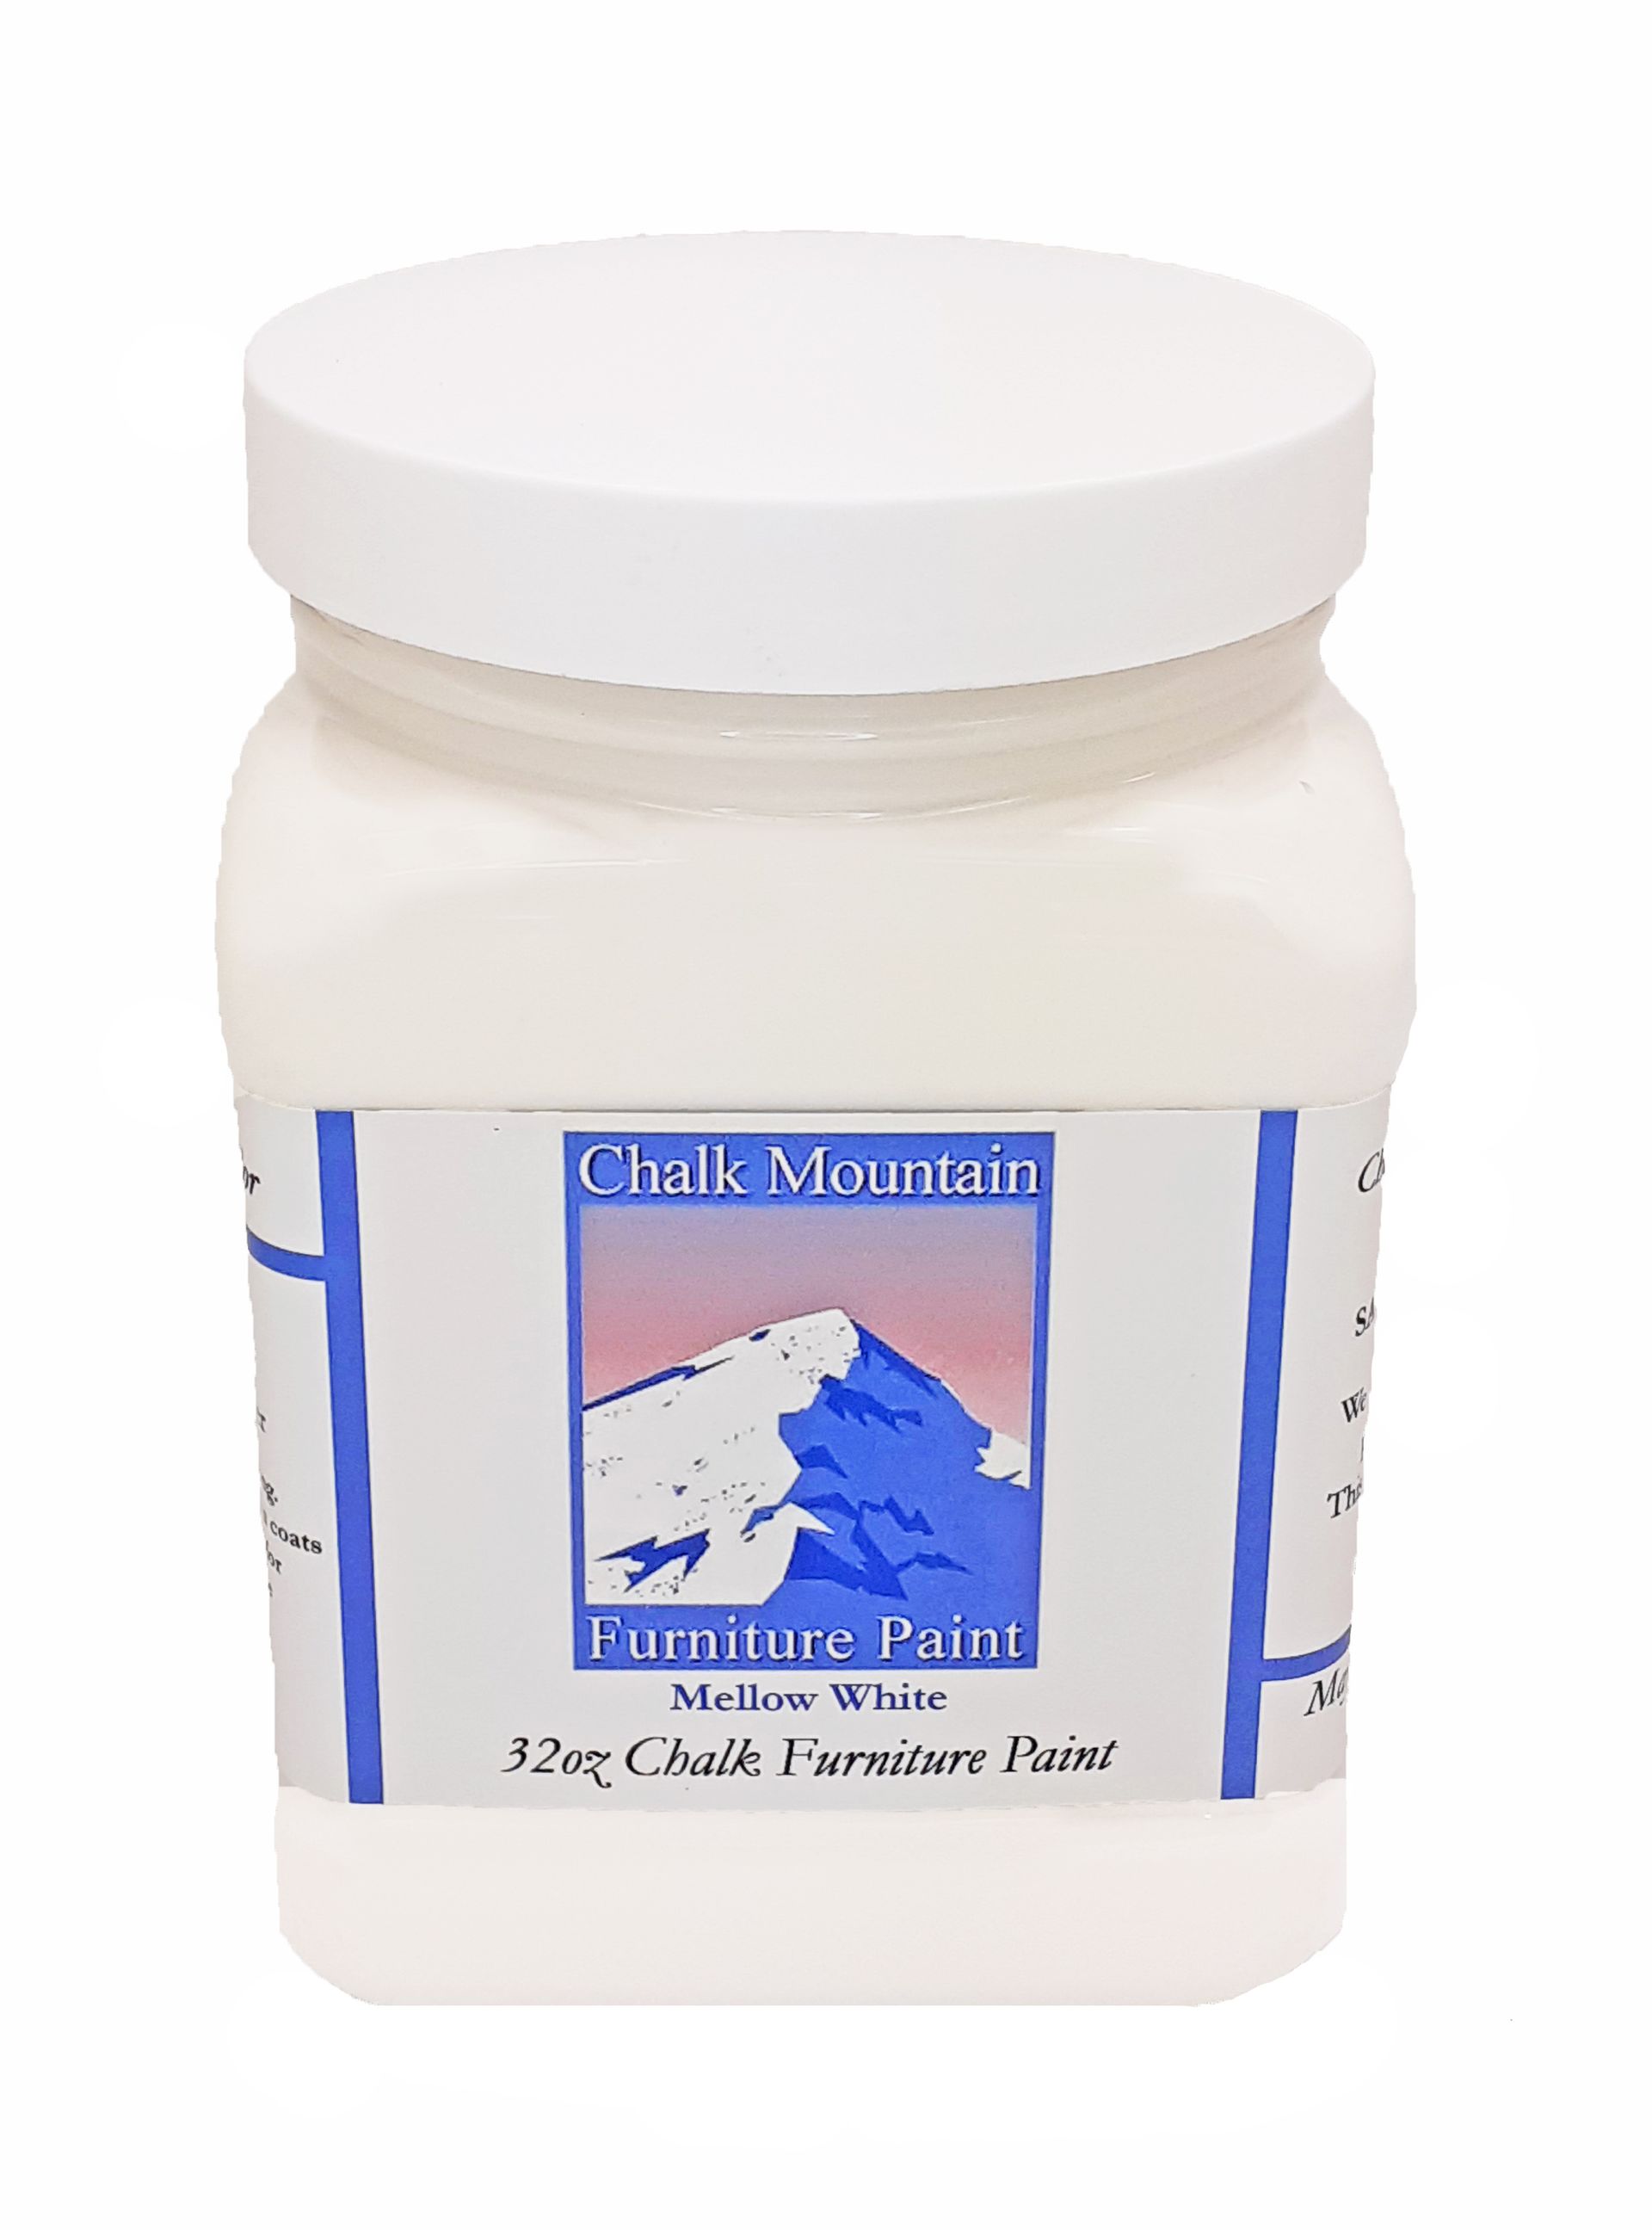
3. Why Chalk Mountain Paint Stands Out

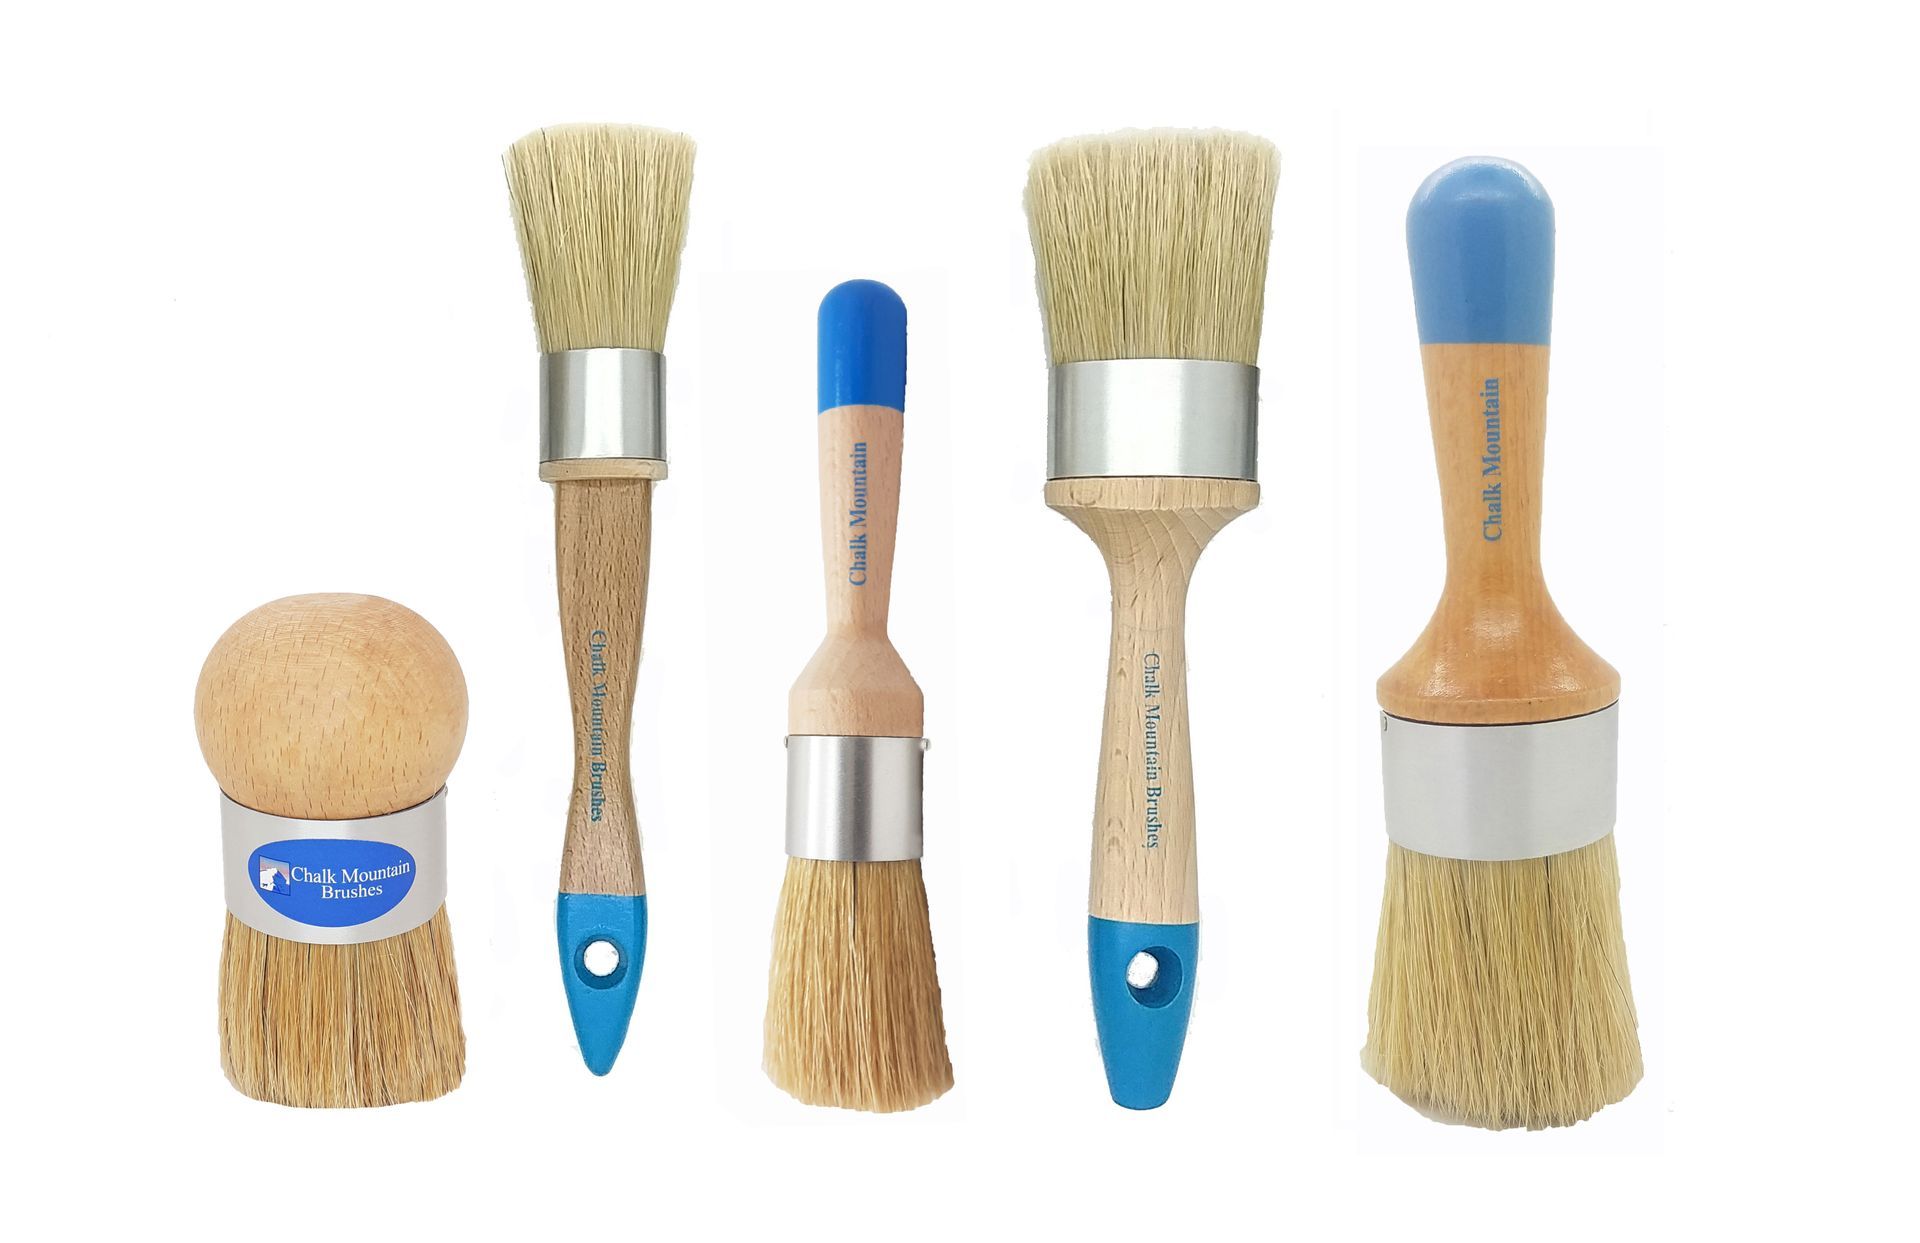
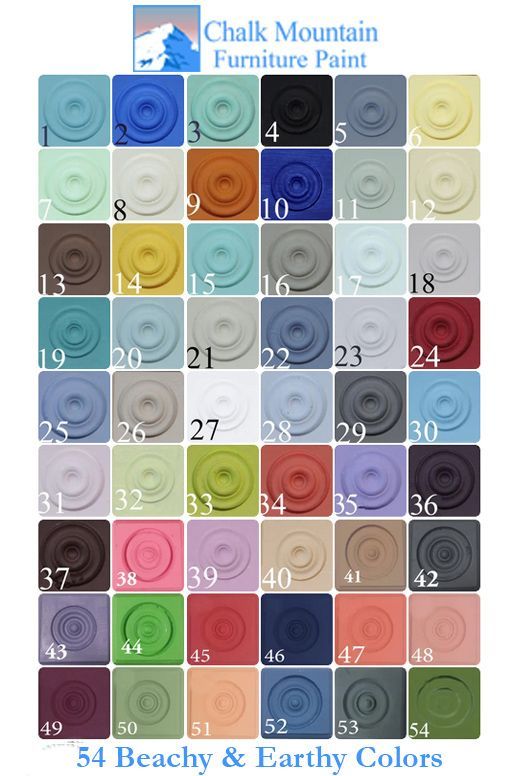
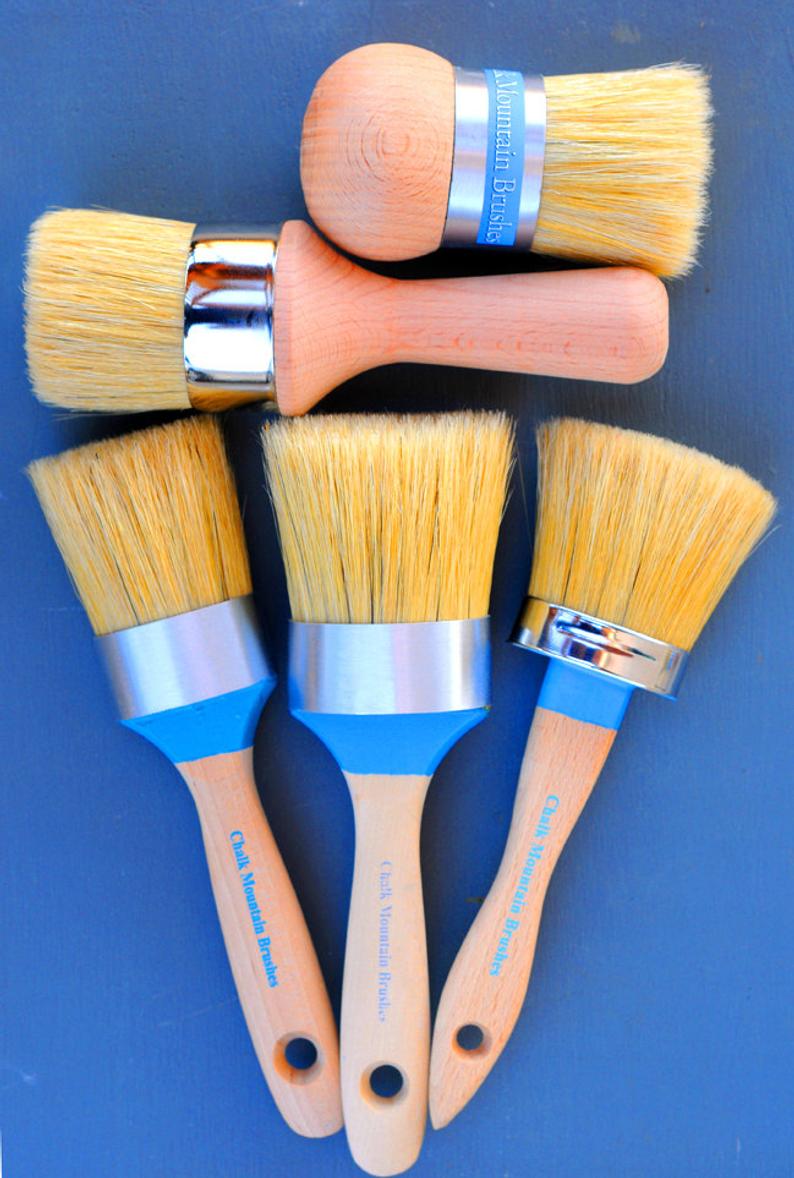
When choosing your chalk paint, the quality of the ingredients matters, and Chalk Mountain Paint is a fantastic choice that enhances these benefits. Richer Pigment: Brands like Chalk Mountain focus on deep, rich pigments, meaning you often achieve full coverage in fewer coats than you might with other chalk or acrylic alternatives. Effortless Blending: Their specialized formula makes blending and layering colors incredibly simple, allowing even beginner DIYers to create sophisticated, multi-tonal finishes. The Right Consistency: It provides that ideal thick, creamy consistency that coats well without dripping excessively—perfect for tackling furniture with complex curves and details.


If your goal is to breathe new life into old furniture with minimal fuss, maximum aesthetic appeal, and immediate character, chalk paint is your winning ticket. While you will need to protect your finish with wax or a topcoat, that small extra step is easily offset by the hours of sanding and priming you avoided. Skip the tedious prep of acrylics, embrace the velvety matte finish, and choose a quality paint like Chalk Mountain to transform your next project from drab to fab!

By Brittany W February 25, 2024
There are several ways to create a blending technique with chalk furniture paint, depending on the effect you're looking for and your comfort level. Wet Blending: This is a great technique for beginners and creates a smooth, seamless transition between colors. What you'll need: Chalk furniture paint in your desired colors, a dedicated brush for each color, a misting bottle filled with water, and a soft blending brush. Steps: Apply your base coat(s) in your chosen colors, leaving some space for blending between them. While the paint is still wet, lightly mist the area where the colors meet. Use your blending brush, dampened with water, to gently work the colors together in small circles or back-and-forth strokes. Continue misting and blending until you achieve the desired level of transition. Let the paint dry completely before adding another coat or sealant. Dry-Brush Blending: This method offers more control and is ideal for creating textured or distressed finishes. What you'll need: Chalk furniture paint in your desired colors, a flat brush for each color, and a stiff bristle brush. Steps: Apply your base coat(s) as desired. Dip the flat brush into one color and wipe off most of the paint on a paper towel. Lightly brush the color onto the other color in a dabbing motion, creating a feathered effect. Repeat with the other color, working in small sections. Use the stiff bristle brush to further blend and distress the colors if desired. Let the paint dry completely before adding another coat or sealant. Feathering Blending: This technique creates a soft, diffused transition between colors. What you'll need: Chalk furniture paint in your desired colors, a flat brush for each color, a clean, and a damp sponge. Steps: Apply your base coat(s) as desired. Dip the flat brush into one color and load it lightly. Use the sponge to dab the loaded brush onto the other color, creating a feathered edge. Repeat with the other color, working in small sections. Blend the edges further with the clean side of the sponge by lightly dabbing and lifting. Let the paint dry completely before adding another coat or sealant. Meshing Technique: This is a quicker, less controlled method that creates a mottled, blended effect. What you'll need: Chalk furniture paint in your desired colors, a chip brush, and a clear furniture wax or colored wax of your choice. Steps: Apply a base coat of your chosen color. Apply a thin coat of clear glaze over the entire surface. While the glaze is wet, randomly "slap" on small amounts of your other chosen colors with the chip brush. Let the furniture wax dry completely, then add another coat if desired. Tips: Always practice on a scrap piece of wood or furniture before starting your project. Work in small sections to avoid blending too much paint at once. Keep your blending brush damp for wet blending and dry for dry-brush blending. Don't be afraid to experiment with different colors, techniques, and tools to achieve your desired effect. There are many online tutorials and resources available to help you learn more about chalk furniture paint blending techniques. We hope this helps! Contact us today if you have any further questions. May all your Mistakes be Serendipitous.
By Brittany W September 29, 2023
Starting your furniture upcycle business with Chalk Mountain
By Brittany W August 22, 2023
Boar Hair Paint and Wax Brushes: The Artisan's Choice for Quality and Efficiency
By Brittany W August 12, 2023
Caring for your brushes after a project.
Chalk Mountain Color Chart
By Brittany W July 24, 2023
For all your DIY supplies
By Brittany W July 21, 2023
A Versatile and Easy-to-Use Paint for Furniture
By Brittany W July 21, 2023
Complete your Project with Chalk Mountain
By Brittany W July 18, 2023
The History behind Chalk Furniture Paint
By Brittany W July 18, 2023
The Origin of Natural Furniture Wax 
By Brittany W July 18, 2023
Bringing your Piece Back to Life